consultations tutorials blog help

Sakai Tutorials

Managing Your Content

Copy/Paste Files

  1. Click Actions
  2. Choose Copy from the drop down menu

Screenshot of copying file.

  1. Highlight the folder to which you would like to copy the file 
  2. Click Actions and choose Paste from the drop down menu
  3. The file will be copied to the designated folder

Screenshot of pasting copied item.


Return to Menu

Reorder Files

Folders added to your Resources sort automatically into alphabetical order. To change the order:

  1. Click Actions
  2. Click Reorder from the drop down menu.

Screenshot of reording files.

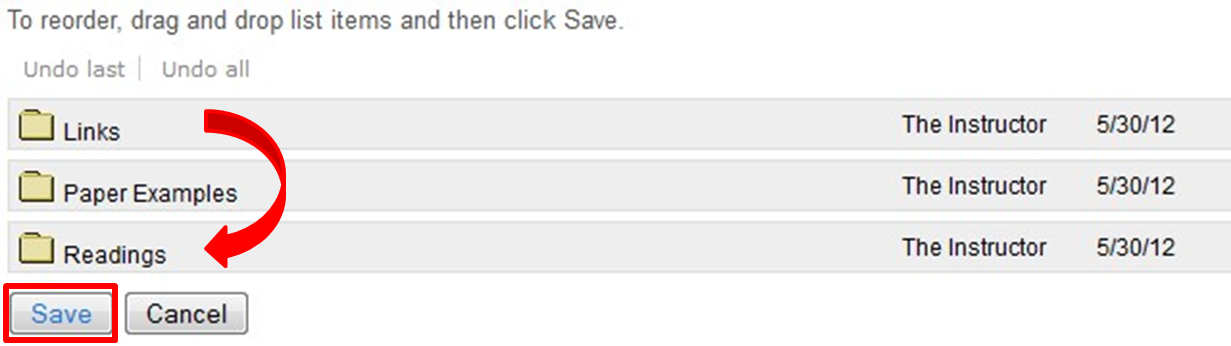
  1. Reorder your folders by dragging and dropping them into their desired positions. Larger sets that are reodered will give you the option to manually enter the number for the item in the list.
  2. Click Save to save your changes or Cancel to return.

Screenshot of saving reordered files.


Return to Menu

Creating Folders

  1. Click Create Folders

Screenshot of creating a folder.

  1. Click Add Another Folder to add additional folders. Use the "X" to remove folders
  2. Name your folder(s)
  3. Click Create Folders Now

Screenshot of Create Folders Now.


Return to Menu

Upload Multiple Files

  1. Go to Resources > Add > Upload files

Screenshot of uploading files.

  1. Select Add Another File

Screenshot of adding another file.

  1. Click Upload Files Now

Screenshot of upload files now.


Return to Menu

Create HTML Pages

  1. Click Add > Create HTML Page

Screenshot of Create HTML Page.

  1. Enter content into Editor and click Continue

Screenshot of HTML editor.

  1. Enter a Name and any necessary details (see Editing the Details of Your Content)
  2. Click Finish

To edit an existing HTML page, locate the HTML page and click Actions > Edit Content

Screenshot of Edit Content.


Return to Menu

Show Other Sites

To view folders from other sites without leaving your current site

  1. Click Show other sites

Screenshot of show other sites.

  1. You will now be able to see all of the folders from sites to which you belong

Screenshot of other sites displayed.


Return to Menu

Copy from Other Sites

To copy content from one site to another

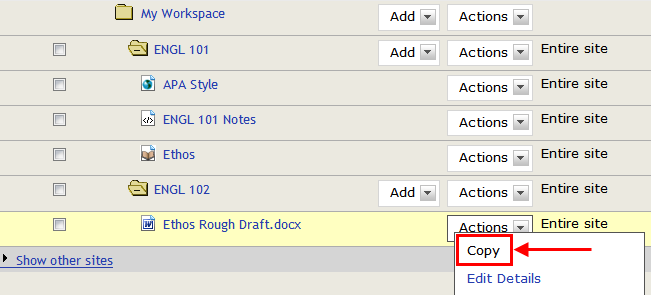
  1. Locate the source site and select the content you would like to copy
  2. Click Actions and then select Copy
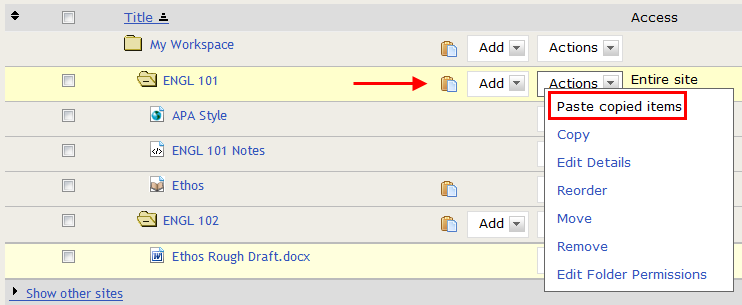
  3. Locate the destination site where you would like the copied content to appear. Choose the appropriate folder if necessary.
  4. Click Actions and select Paste. Alternatively, you may click the paste icon next to the desired location.
  5. The content will be copied and pasted into the destination site.

Note: You can copy and paste single files, multiple files, single folders or even multiple folders. To copy and paste multiple items, check the boxes next to the content and click Copy at the top of the screen. Then, click the paste icon or click Actions and choose Paste to paste the content into the destination site.

Return to Menu

Editing the Details of Your Content

To edit the details of your content

  1. Click Actions and then select Edit Details

Screenshot of Edit Details.

You will be brought to a form to fill out information about your content

  1. Edit the Name and/or Description
  2. Control the Availability and Access of your site (discussed further in the next section)
  3. Set parameters for Showing or Hiding content
  4. Click Update when finished

Screenshot of Edit Details options.

Note: When content is added to the Description it can be accessed using the ADD IMAGE details button within Resources.

Screenshot of adding details to a description.

Return to Menu

Control Access to Your Content

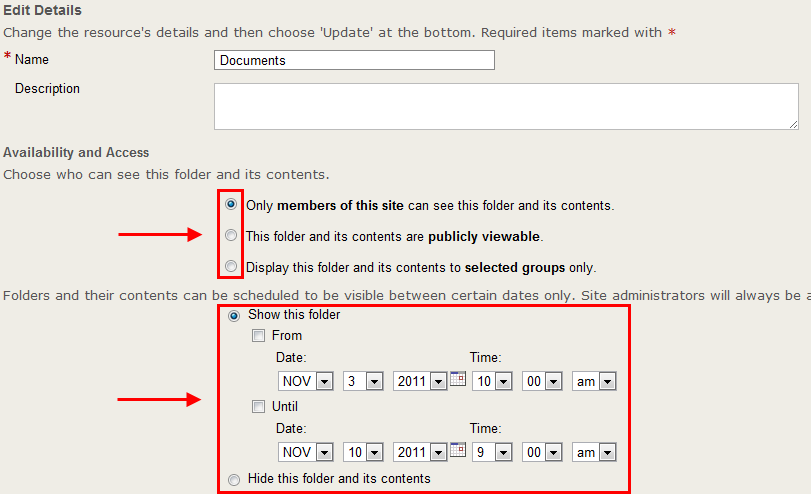
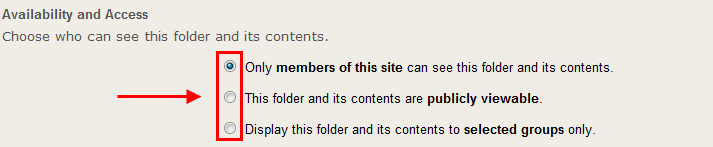
After selecting to Edit Details of your content, you are given the option to edit the Availability and Access. Here you can select whether your content will be available to:

  • Members of the Site
  • The Public
  • Selected Groups/Sections
  1. Select the desired option

Screenshot of Availability and Access options.

  • If selecting to make the contents publicly viewable, make sure to select and copy the Web Address (URL) at the bottom to give out to public participants

Screenshot of Web Address.

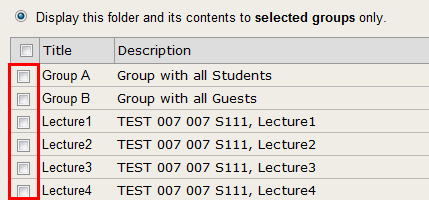
  • If selecting to display to selected groups only, continue by selecting your desired groups

Screenshot of group check boxes.

  1. Click Update when finished

Return to Menu

Set Permissions for a Folder

  1. Click Actions and choose Edit Folder Permissions

Screenshot of Edit Folder Permissions.

  1. Use the check boxes to edit permissions for each role.
  2. Available permissions are:
  • new: Create or add a new file/folder
  • read: Read a file/folder
  • revise: Revise a file/folder
  • delete: Delete a file/folder
  • hidden:  Hide file/folder from others without permission
  1. Change permissions by selecting a checkbox associated with a role
  2. Click Save


Return to Menu

Create a Group Drop Box

  1. First, Create a Folder.
  2. Click Add details for this item.

Screenshot of creating a folder.

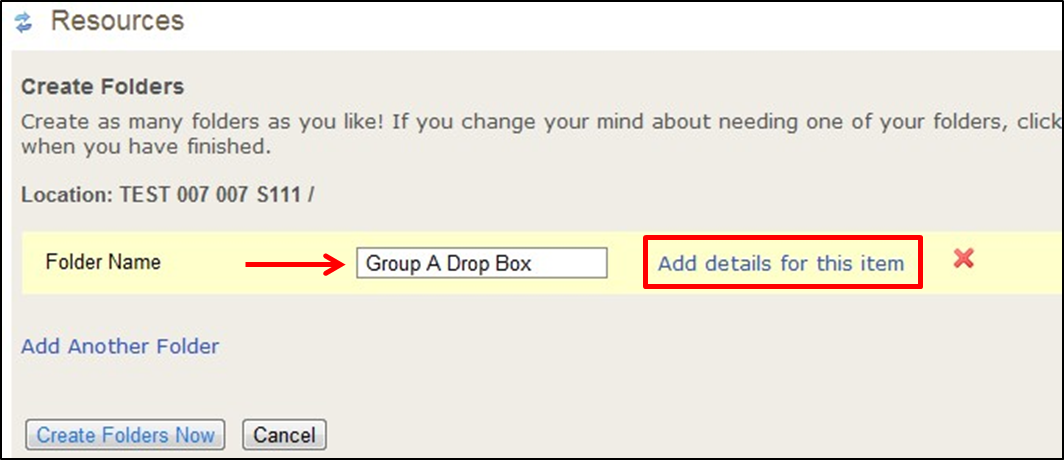
  1. Under Availability and Access, select Display to Selected Groups only.
  2. Select the group(s) you want to access the dropbox.

Screenshot of Availability and Access options.

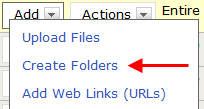
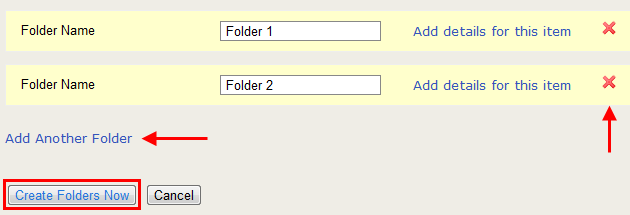
  1. Click Create Folders Now.
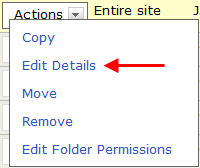
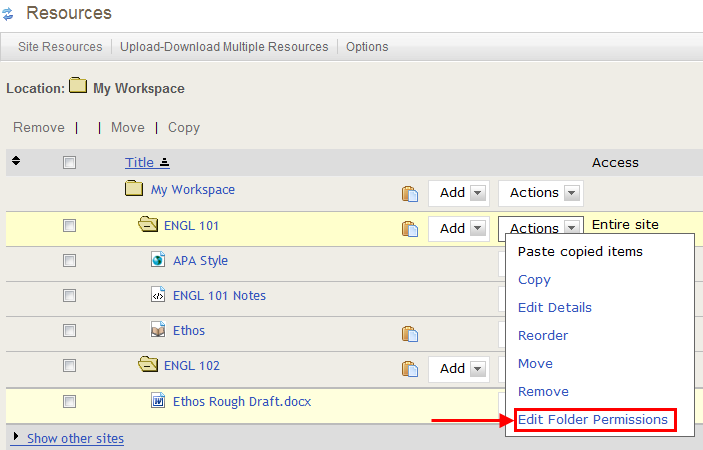
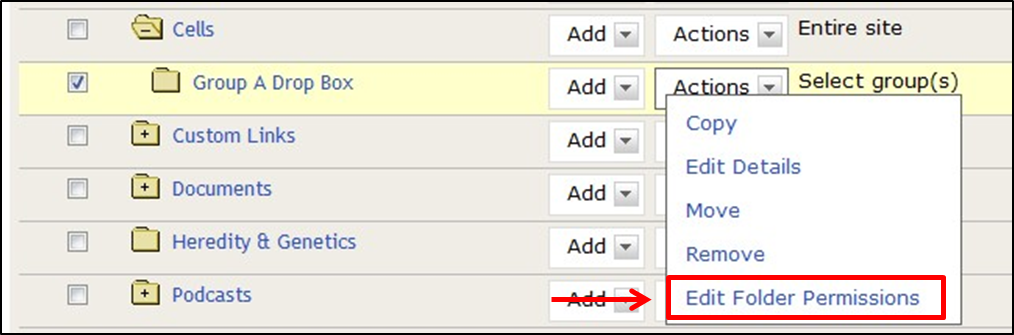
  2. After you have created the folder, select Actions > Edit Folder Permissions.

Screenshot of Edit Folder Permissions.

  1. You can edit the permissions for the students to allow them to add new content, revise their own, and delete their own, which are the recommended settings for the dropbox.
  2. When you are finished, click Save.


Return to Menu

Related Resources: